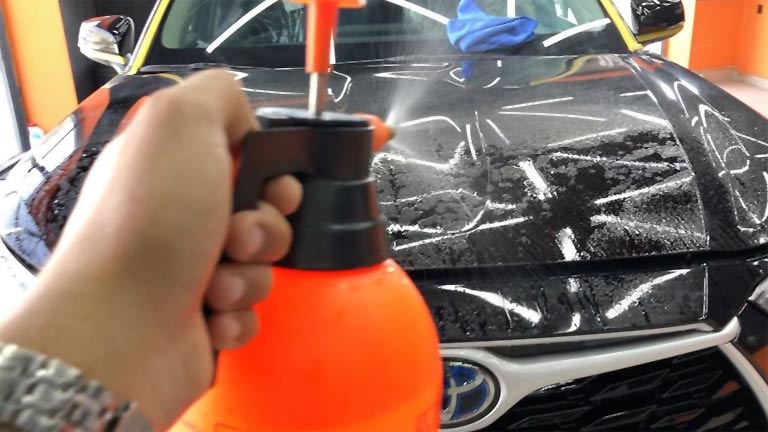
Investing in a protective coating for your vehicle is an excellent way to safeguard its paintwork and keep it looking pristine for years to come. Whether you’re opting for a ceramic coating, a polymer sealant, or any other type of protective coating, proper preparation is essential to ensure the coating adheres effectively and delivers the best results.
In this guide, we will walk you through the step-by-step process of preparing your vehicle for protective coating application.
Step 1: Thoroughly Wash Your Vehicle
Start the preparation process by giving your vehicle a thorough wash. Use high-quality car wash soap and a microfiber wash mitt to gently remove dirt, grime, and any old wax or sealant residues from the surface. Pay special attention to the lower sections of the car, which tend to accumulate more road debris.
Step 2: Decontaminate the Paint Surface
After washing, it’s crucial to decontaminate the paint surface to eliminate embedded contaminants such as tar, tree sap, industrial fallout, and other stubborn substances. You can use a dedicated clay bar or a clay mitt along with a lubricant to glide the clay over the surface and remove these contaminants.
Step 3: Paint Correction (Optional)
If your vehicle’s paint has swirl marks, scratches, or minor imperfections, you may consider paint correction to enhance the final results of the protective coating. Paint correction involves using abrasive polishes and compounds to level the paint surface and achieve a smooth, defect-free finish.
Step 4: IPA Wipe Down
An Isopropyl Alcohol (IPA) wipe-down is vital to remove any remaining oils, residues, or polish dust from the paint surface. IPA acts as a solvent and ensures a clean, bare surface for the protective coating to bond effectively. Use a mixture of 70% IPA and 30% water, and wipe down the entire vehicle with a clean microfiber cloth.
Step 5: Keep the Vehicle Dry and Contaminant-Free
Before applying the protective coating, ensure the vehicle is completely dry. Avoid direct sunlight or high temperatures during the application process to prevent premature drying of the coating. Additionally, keep the area free from dust, pollen, and other airborne contaminants that may settle on the paint during the application.
Step 6: Mask Off Uncoated Surfaces
For precise application, consider using automotive painter’s tape to mask off areas that won’t be coated, such as rubber trim, plastic moldings, and unpainted metal surfaces. This step ensures a clean and professional finish without any unwanted residue on non-painted parts.
Step 7: Follow Manufacturer Guidelines
Different protective coatings have specific application guidelines provided by the manufacturer. It’s crucial to read and follow these instructions meticulously. Some coatings may require multiple layers or specific curing times between applications, so be sure to adhere to the recommended procedures for optimal results.
Conclusion
Properly preparing your vehicle for protective coating application is the foundation for achieving long-lasting results and maximum protection. By following these steps, you’ll ensure that the coating bonds effectively to the paint surface, offering a shield against environmental contaminants, UV rays, and other potential damages. If you’re unsure about any step in the process, it’s best to seek professional assistance from experienced detailing technicians who can provide expert guidance and application. Once the protective coating is applied, you can enjoy the peace of mind that your vehicle’s paintwork is well-protected and ready to shine for years to come.

