One of the most common problems with the faucet in a home is that, over time, they can begin to leak and systematically lose water. However, although a leaky faucet may appear to be a severe problem, it is very easy to fix it. Today we tell you how to do it!
Common causes of a dripping faucet
Faucets dripping from the handle:
Currently, most of the taps in houses have mixer taps. These types of taps have a ceramic gasket that is responsible for sealing and controlling the water flow. The common flow of hot and cold water results in leakage of the tab from the handle.
Shower faucet dripping down the wall :
Unlike in kitchens or sinks mixers, showers have an additional drawback. To access the part behind the tap, we cannot access it through the cabinet below.
When the problem is of this type, you will almost certainly have to disassemble the faucet, cutting off the water first (that always) to solve the faucet failure.
Presence of rust or lime in the pipes:
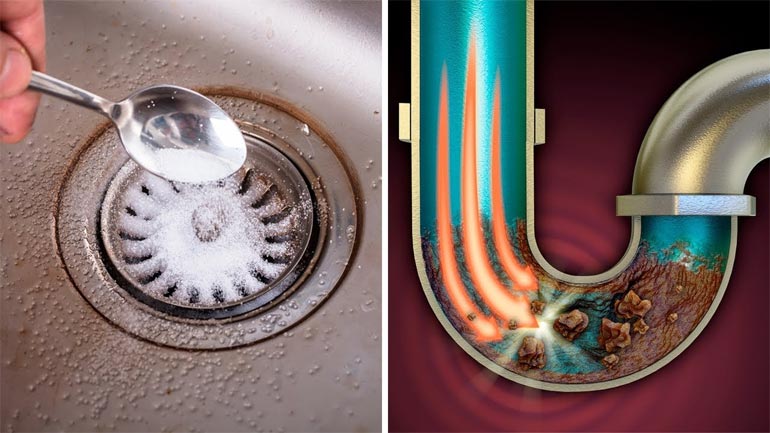
When the pipes accumulate a lot of lime or are very rusty, they make parts of the faucet deteriorate more quickly. The rubbers or O-rings are damaged; the threads can clog the tap preventing the water from coming out even as we have seen.
How do you stop a fast-dripping faucet?
A dripping faucet has a solution; several reasons are easily solvable with the spare parts that we will explain below.
1. Turn off the water
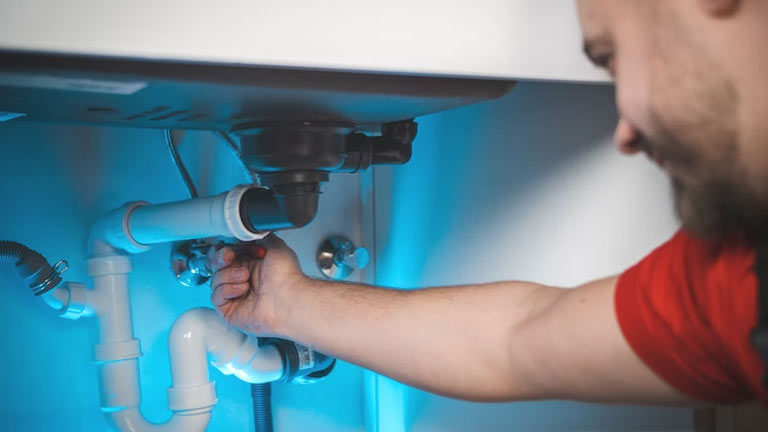
Whenever you are going to begin a plumbing job, you must close the water stopcock. Otherwise, uncontrollable water could come out when you start to disassemble the tap.
To close the stopcocks, you must look through the pipes for a handle and turn it. If the water keeps coming out, it means that you have done the first step wrong.
2. Remove the tap
You must know what type of tap is yours to carry out the process of how to fix a leaky faucet. Although the procedure is quite similar for all of them.
You must remove the faucet trim manually or with the help of a tool, such as a screwdriver, an Allen key, or a wrench, depending on the type of faucet.
3. Reassemble the tap
Although you think you have already solved your problem of fixing a leaky faucet in the previous step, the truth is that the last two steps are the final test. In the same way that you removed the parts of your faucet, you must reassemble it.
Often here come the scares since when you disassemble it, you do not look well at how you are doing it, and when you start to do it again, you do not remember. Be careful so that this does not happen to you.
You can also call Stollwerck professionals if the issue is out of your control.
Conclusion:
We hope this article has been helpful to you with simple steps to know how to fix a leaky tap. If you think that the best option is to hire a plumbing service, we leave you to contact professionals.


