Make sure to have a working Internet connection
Setting up a router will be difficult if you do not have a working internet connection. Your ISP (Internet service provider) can provide you with a modem or gateway device to connect your device and check the internet connectivity. Once your device detects an Internet connection, you’re good to set up the wifi router.
Keep the documentation handy
This step may seem obvious, but it will save you from frustration while you are in the middle of setting up the setup. Look for brochures or manuals that include router setup information, like the default username and password.
Check if there is an app available
There are many router manufacturers that have support for mobile apps or web dashboards which you can use for setup and management. A smartphone app may make it possible for you to configure your router without connecting it to a computer. Find out if there is an app available for your router by checking the manual that came with it.
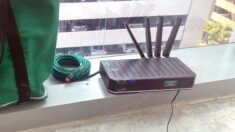
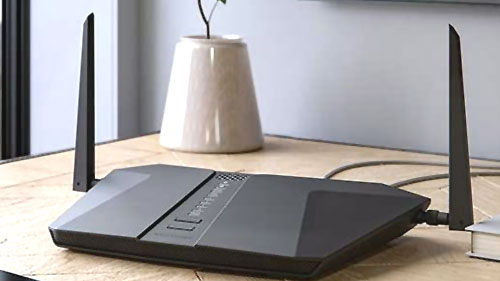
Set up and extend antennas
In the event that the router has antennas that are individually dedicated to the router box, you will have to install them. It is also recommended that you extend the antennas before you begin the setup procedure.
Step 1: Choose a location for the router
Rooms having open space are ideal for placing wireless routers because they can distribute the connection evenly up to a wide area. In some cases, it’s not an easy task to find an open area because you should connect your router to the broadband gateway from your provider, which is usually connected to an outside wall with a cable.
Step 2: Establish an Internet connection
Connect your router to a cable or select a mesh router.
When connecting your router to an ISP gateway’s Ethernet port, you can use a CAT6 or CAT5e cable to overcome the long-distance problem. You can also place your router in the center of your home by running the Ethernet cables aligning with the walls.
An alternative is installing a mesh network along with a router. You can set up a mesh network to connect multiple Wi-Fi transmitters across a home or office to create one wireless network. A mesh network requires a router with mesh capability, unlike the extenders, which can be compatible with any wireless router.
In any case, you’ll need to connect an Ethernet cable to the router’s internet port or WAN. Internet ports are generally distinguished from other ports by their color.
Make sure the router’s LED lights are on
LED lights on your router indicate whether an Internet connection has been established or not. Be sure that you plug the cable into the correct port if you don’t see lights blinking and confirming such a connection.
Connect a device and test the connection.
Try connecting a laptop computer to the device port on the back side of your router to verify its connection. As soon as you confirm an active Internet connection, you will be able to set up a wired connection.
Step 3: Set up your wireless router gateway
Some ISPs offer router-integrated gateways. They often lack security, extra ports, and other features that can help you expand networks and add services as your business grows.
If you have a router-integrated gateway, you need to deactivate the router and pass the WAN IP address in order to configure the gateway. Without this step, you might run into conflicts that prevent your devices from functioning properly.
Step 4: Set up a gateway and router connection
Turn off the gateway first. If you plugged an Ethernet cable into the local area network (LAN) port of the gateway, unplug it and plug it into the WAN port of your wifi router. Restart the gateway and wait a few seconds until it boots up. Turn on the power supply for the router and wait a few seconds.
Step 5: Install the app or access a web interface dashboard
Connect your router to a device with an Ethernet cable if there is no specific app available or you wish to use the router’s web interface dashboard. Typically, the router’s IP address is printed on its back. If not, type “192.168.1.1” into your browser’s address bar.
Step 6: Set up your username and password
It is necessary to log in with the default user and password to configure your router. After you log in, you should instantly set up a new admin user and password.
Step 7: Install the latest firmware for your router
There may be a need to update the software or ‘firmware’ that operates your router. The new firmware might offer new security features or fix bugs. Most routers do not automatically download new firmware, but some do.
Step 8: Set up a Wi-Fi password
If you don’t see a prompt to change your Wi-Fi password and username, plan to do so as soon as possible.
Step 9: Consider using auto-configuration tools
The setup can be simplified if your router provides automatic installation tools. A device’s IP address should automatically be assigned when you use DHCP (Dynamic host control protocol), which handles auto-configuration for IP addresses.
Step 10: Secure your network
To protect your system from malicious attacks and traffic, you need to log into the router’s web dashboard and enable enhanced security such as firewalls, access controls, and web filtering. For privacy, you can set up VPNs.