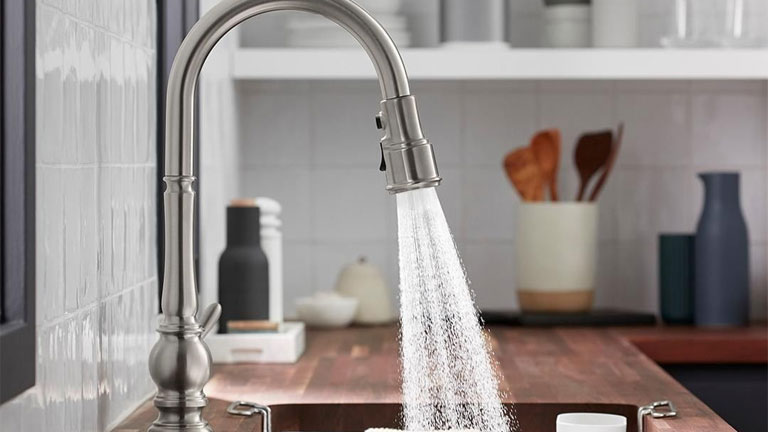
If you have been keen on the recent developments in kitchen accessories, the touchless kitchen faucet is just the latest trend that you ought to invest in. Apart from their elegance, the faucets exhibit superior functionality. Additionally, the faucets offer you a hands-free operation thus reducing the spread of germs as compared to traditional faucets.
However, getting the best touchless faucet at your service is only the first step. Installing the faucet, however, might be a more challenging endeavor than you might picture it to be. To rip all the benefits of a touchless kitchen faucet, you need to ensure that you fix it into its proper position thus avoiding any shortcomings that may arise from a damaged faucet.
To have an easy time installing your faucet the following are paramount to have at your service.
You will need
- A bucket
- A flashlight
- A drill
- Screwdriver
- Drill
- Basin wrench
- A kitchen faucet (ensure that it has an included wrench)
- AAA batteries
- Watertight seal with gasket rubber seal. (may come with the package)
*, ensure that you have each part of the kitchen faucet that is indicated in the manual before beginning the installation procedure.
Procedure
First, you have to ensure that you turn off both the hot water and cold water valves before unmounting the existing kitchen faucet. Using a basin wrench, untighten the screws that are fitted on the faucet spouts and remove the retainer clip before unmounting the traditional kitchen faucet. While at it, ensure that you empty the water in the hoses into the bucket to avoid spilling the water on the floor.
Having done this, place the watertight seal on the existing holes to cover the existing holes and increase the grip on the faucet hence reducing the chances of leakages. Having installed the gasket, push the hose ends and cable through the support bar and washer thus enabling their access from below the cabinet. While at it ensure that you place the faucet LED base facing forward.
Place the pipes into the washer push the hex nut through the cable and tighten them hence holding them tightly in position and further preventing leakage. Next, feed the soap dispenser before fixing it in place. Afterward, push the retractable spray hose through the gooseneck faucet into the cabinet.
Next, prepare drilled holes on your cabinet wall for installing the control box and fasten the control box tightly onto the wall. Next, fit the push-fit connections into the control panel according to the numbering that is indicated on the cable.
Next, install the batteries into the provided connection, and in the right manner else the faucet will not be functional. Alternatively, you may opt to get a socket fixed into the cabinet thus using direct power to operate the control box. Having installed the control box, adjust the temperature to your preferred temperature before finishing upon installation.
Next, connect the hose to the respective water inlet. (the hose marked with red should go to the hot water supply and the marked blue hose to the cold water valve.) While at this, ensure that you remove any sealant that may be in the valves hence preventing the incidences of clogging in the future. Tighten the valves in place using your wrench and ensure that you do not overtighten the valves. Afterward, place the weight that will pull the retractable spray hose back in place after using it. For this, there is a point on the pipe that has been marked on the hose.
Place the bucket below the sink and let water flow through the water supply to eliminate air from the pipes. Having done this, fix your pipe that leads water to the control panel in place and place and you are good to go.


