For homeowners who consider changing a lightbulb the ultimate in do-it-yourself repairs, the idea of changing out a dishwasher can be daunting. Not only is it an incredibly large (and expensive) appliance, but they also don’t generally require a ton of maintenance, which means the day you choose to replace it might be the first time you’ve ever really looked inside one.
Still, changing a dishwasher isn’t rocket science, and after a few quick steps, you’ll be back to having clean pots and plates in no time.
1. Confirm the Size
Depending on the type of dishwasher you bought, it may or may not be compatible with space already allowed inside your kitchen. Some older models, for example, are quite smaller than modern-day, energy-efficient dishwashers, so make sure that the one you bought will slide into the same spot that the old one occupied. If you need to make a few adjustments to the area, especially if you’ll need to make space vertically, consider calling a contractor or general handyman.
2. Prepare for Install
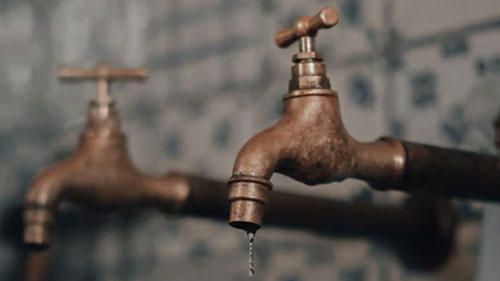
Lay down a towel or old blanket that you can rest the new dishwasher on so as not to scratch the floor. Take all the screws and hardware out of the box, and place them in a nearby area that won’t get in the way, alongside any tools you might need. Also, make sure you disconnect the power and water supply to the dishwasher area and consider taking the doors off the cabinets where the drain lines are at to make replacing the dishwasher easier. Also, make sure dishwasher taps are not leaking. Fixing a leaking tap will also stop water wastage.
3. Attach the Drain
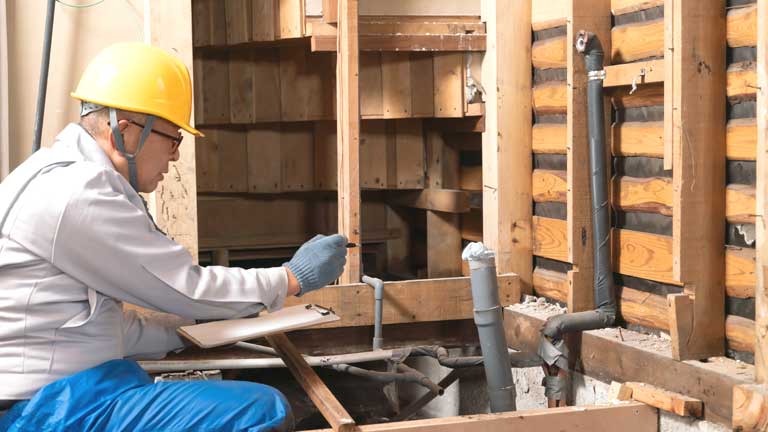
Take the cap off the drain line for the dishwasher, and allow any water or debris to spill out; most factories will test dishwashers before they leave the facility, so whatever spills out is most likely from that event and is nothing to worry about (although if you have any questions, call the store that you purchased it from to ask). Attach the drain line from the house to the one from the dishwasher and use pliers to move the clamp into place, securing the line. Once you’ve verified the hose will stay put, thread it back through the hole in the wall and move the dishwasher into place, turning the screws on the bottom to keep the dishwasher level.
4. Reattach Wires
Double-check with a voltage meter once again to make sure the wires are all still inactive, and then reattach the wires from the new dishwasher to the ones on the electrical unit, generally located underneath the platform the dishwasher stands on. Screw wire nuts onto the ends of the conjoined wires and wrap each of them with electrical tape, individually. Attach the copper ground wire to the green screw and place the cover back onto the electrical area.
5. Attach the “Dishwasher 90”
The “dishwasher 90” is a copper elbow piece that sits at 90 degrees and joins the water supply from the house to the new dishwasher. Some models will come with this part included, but you might also have to purchase it separately. Though you can always purchase it online to save some money, it’s quicker and possibly more efficient if you buy it from the store you bought your dishwasher at. Attach it to the water supply, connect it to your dishwasher, and you’re all set.
6. Test the Connections
Check to make sure that the wires and hoses are all installed properly, as well as the fact that there are no electrical wires touching water that may have spilled on the ground somewhere. Once you’ve done that, flip the water and electrical switches back on and check the dishwasher to make sure everything is working properly. Once you’re satisfied, move the old dishwasher outside to sell or donate, and enjoy your new appliance!
While these steps are general by nature and apply to virtually every dishwasher regardless of make or model, it’s always a good idea to check with your specific instructions to see what additional or different steps you need to make. If you’re still unsure about the process, ask as many questions as you need to make sure that everything is done properly. Don’t rush this; the last thing you need is a sloppy job that either harms the dishwasher or causes safety issues. With a little patience and prep work, however, installing a new dishwasher for garbage disposals can be simple, safe, and fun.


